为你的网站添加个性化的鼠标样式
很多时候,我们喜欢自己的网站能够更加个性化更有自己的风格,其中一个就是改变自己网站的鼠标样式,让其与众不同,那么如何进行更改呢,这个 教程 就是给大家讲一下如何为自己的博客添加上自己喜欢的鼠标样式。
第一步:
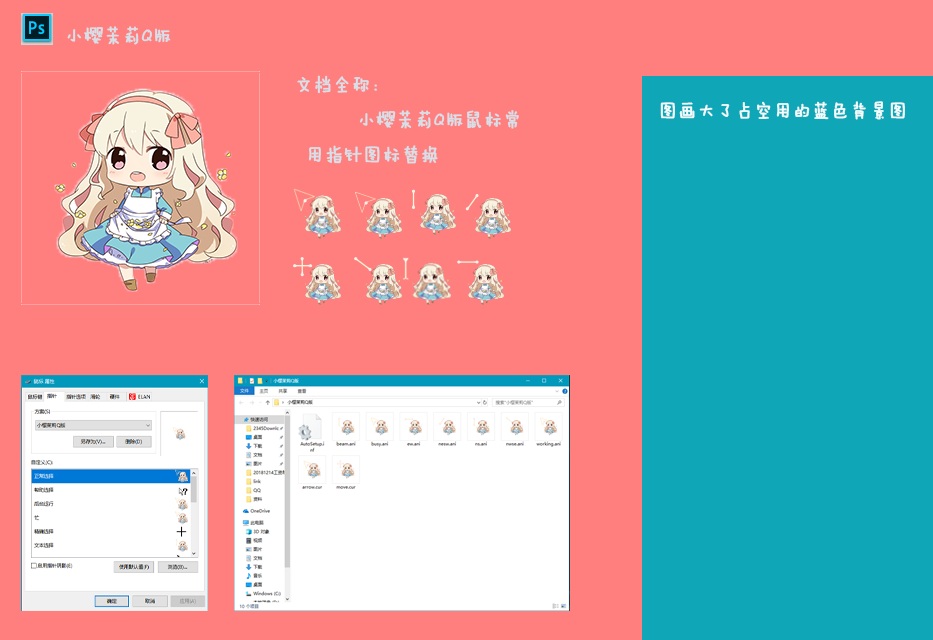
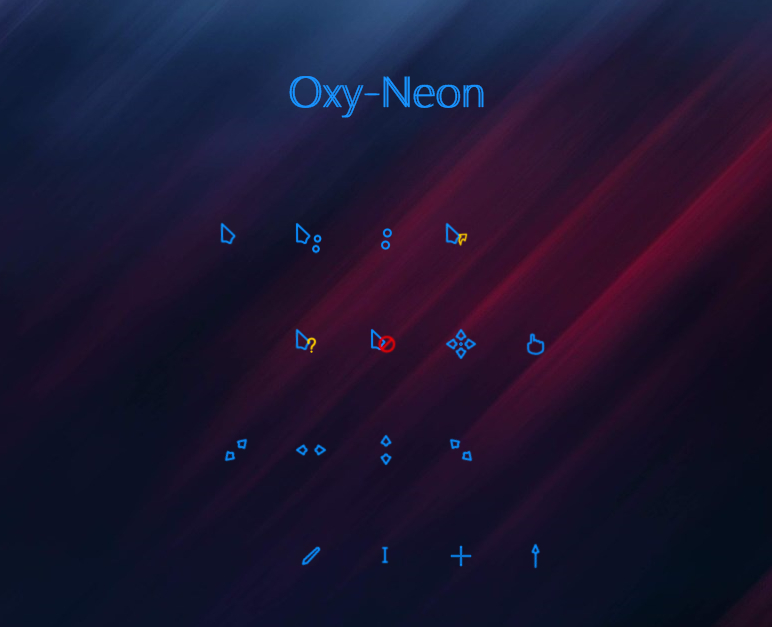
你需要百度(我也准备了几个在文末,不喜欢也可以自己百度找一找)去物色一款你自己喜欢的鼠标样式。其中,鼠标样式主要分为:普通指针样式和链接指针样式两类。找到两个喜欢的样式即可!鼠标样式文件的后缀名一般都是 “*.cur”(的任务,直接使用png格式一般也是可以的)
第二步:
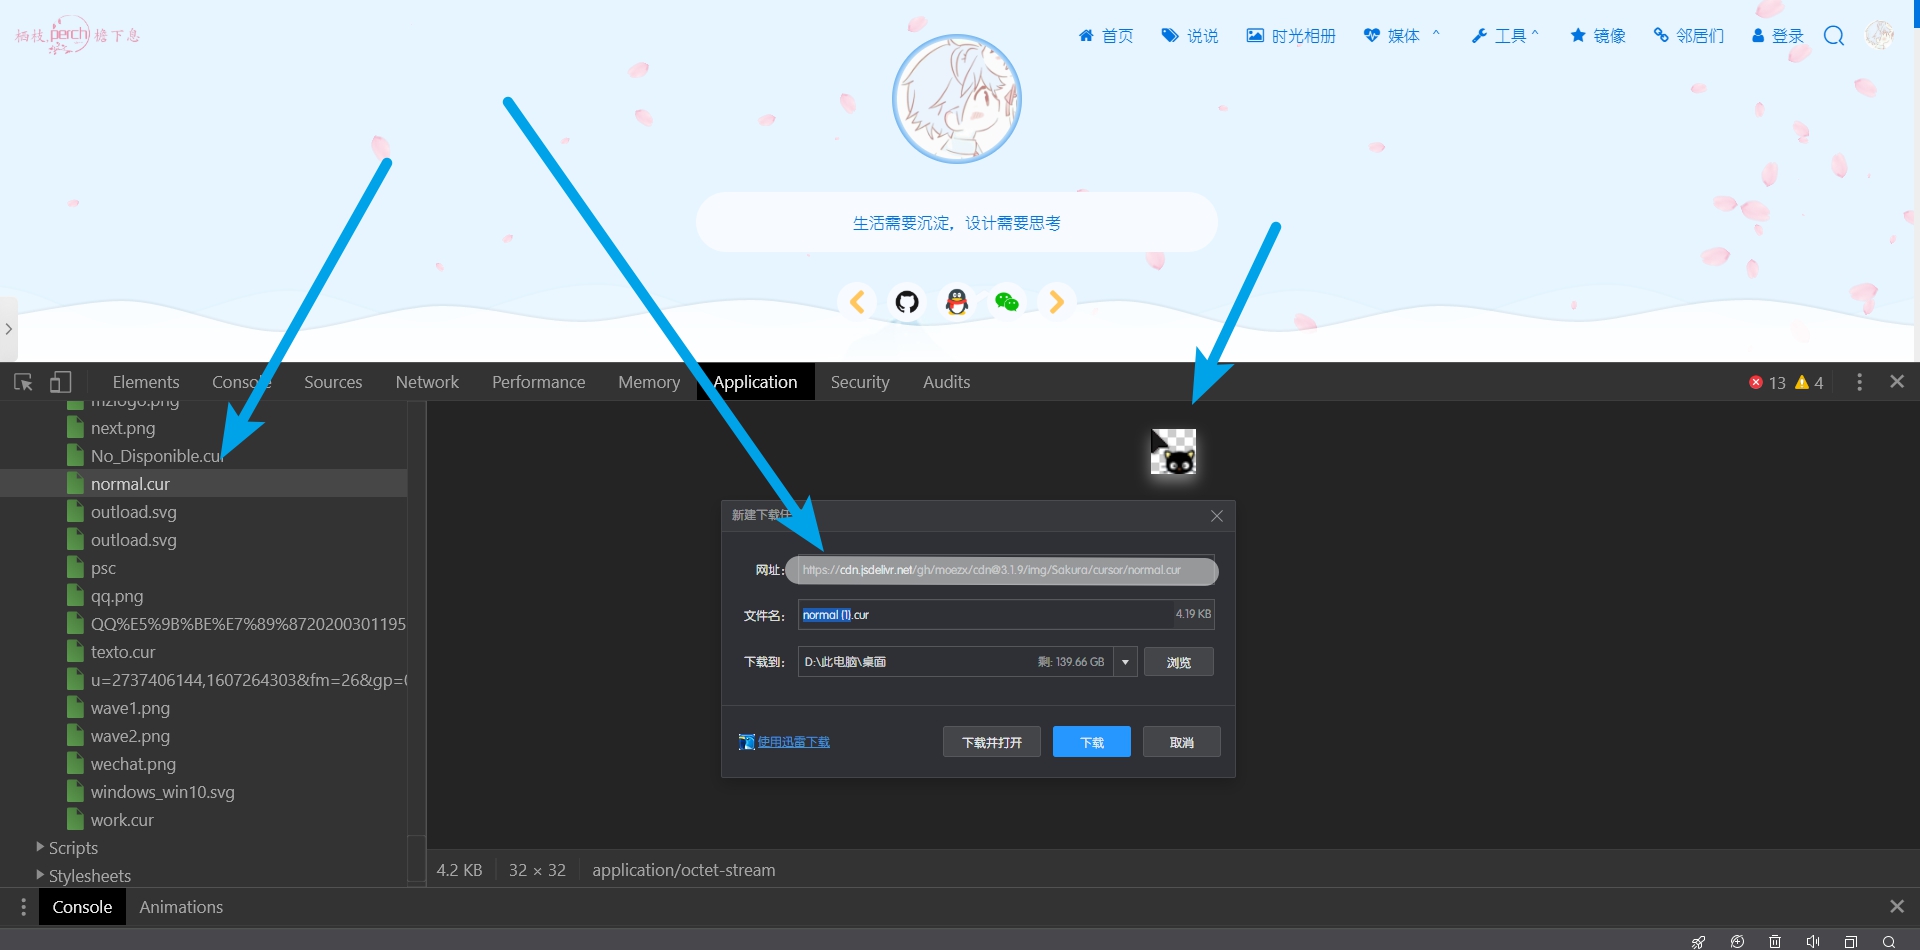
将下载好的两个鼠标样式通过FlashFXP等软件上传到你网站的某一个目录中(比如你也可以直接扔进图床,然后使用链接引用),并且记住该目录的路径和文件名!因为第三步需要调用这两个文件。比如我的鼠标样式是放在github使用jsdelivr引用的。

第三步:
把以下代码添加到你网站主题样式的CSS中(wordpress可以直接添加到自定义css里面,hexo添加到主题文件下的stely.css里面,别的网站可以根据你的css文件自行添加),随便找个地方把代码贴进去就可以了。如果鼠标指针没有显示,把指针代码的default换成auto!important。
切记:代码括号里面为两个鼠标样式的文件路径(参考第二步骤)
|
/**普通指针样式 /
|
|
|
body{
|
|
|
cursor:url(https://www.5xiaobo.com/zb_users/theme/presence/mouse/default.cur),default;
|
|
|
}
|
|
|
/**链接指针样式/
|
|
|
a:hover{
|
|
|
cursor:url(https://www.5xiaobo.com/zb_users/theme/presence/mouse/pointer.cur),pointer;
|
|
|
}
|
附柏竹更新的详细代码:
|
鼠标样式末端定义说明:
|
|
|
11.png 默认样式样式
|
|
|
22.png 链接打开样式
|
|
|
33.png 指示文本样式
|
|
|
url的值可以根据自己的图片链接设定
|
|
|
(建议图片大小:32x32像素)
|
|
|
body{
|
|
|
cursor: url("https://cdn.jsdelivr.net/gh/Sanscan12/Sanscan12.github.io/shubiao/11.png"), default ;
|
|
|
}
|
|
|
div {
|
|
|
cursor: url("https://cdn.jsdelivr.net/gh/Sanscan12/Sanscan12.github.io/shubiao/11.png"), default ;
|
|
|
}
|
|
|
a:hover {
|
|
|
cursor: url("https://cdn.jsdelivr.net/gh/Sanscan12/Sanscan12.github.io/shubiao/22.png"), pointer ;
|
|
|
}
|
|
|
a:hover span {
|
|
|
cursor: url("https://cdn.jsdelivr.net/gh/Sanscan12/Sanscan12.github.io/shubiao/22.png"), pointer ;
|
|
|
}
|
|
|
div:hover img {
|
|
|
cursor: url("https://cdn.jsdelivr.net/gh/Sanscan12/Sanscan12.github.io/shubiao/22.png"), pointer ;
|
|
|
}
|
|
|
div:hover span {
|
|
|
cursor: url("https://cdn.jsdelivr.net/gh/Sanscan12/Sanscan12.github.io/shubiao/22.png"), pointer ;
|
|
|
}
|
|
|
div:hover button {
|
|
|
cursor: url("https://cdn.jsdelivr.net/gh/Sanscan12/Sanscan12.github.io/shubiao/22.png"), pointer ;
|
|
|
}
|
|
|
div:hover textarea {
|
|
|
cursor: url("https://cdn.jsdelivr.net/gh/Sanscan12/Sanscan12.github.io/shubiao/33.png"), pointer ;
|
|
|
}
|
|
|
div:hover input {
|
|
|
cursor: url("https://cdn.jsdelivr.net/gh/Sanscan12/Sanscan12.github.io/shubiao/33.png"), pointer ;
|
|
|
}
|
第四步:
将修改好的CSS样式文件保存或上传即可。
至此,教程完毕,你抓紧去试试吧。
第五步:(一般人请忽略,大佬可以看看)
下面的css鼠标指针css样式表的一些属性:
如果你觉得我写的两种样式不够看,还不够炫。你可以发挥你的本领添加更多哦!!!
| 默认 | default |
| 文字/编辑 | text |
| 自动 | auto |
| 手形 | pointer, hand(hand是IE专有) |
| 可移动对象 | move |
| 不允许 | not-allowed |
| 无法释放 | no-drop |
| 等待/沙漏 | wait |
| 帮助 | help |
| 十字准星 | crosshair |
| 向上改变大小(North) | n-resize |
| 向下改变大小(South) | s_resize 与n-resize效果相同 |
| 向左改变大小(West) | w-resize |
| 向右改变大小(East) | e-resize 与w-resize效果相同 |
| 向左上改变大小(NorthWest) | nw-resize |
| 向左下改变大小(SouthWest) | sw-resize |
| 向右上改变大小(NorthEast) | ne-resize 与sw-resize效果相同 |
| 向右下改变大小(SouthEast) | se-resize 与nw-resize效果相同 |
| 自定义光标 | url('光标地址') |
这一段主要是说明关于鼠标的一些的属性,参考下面的html代码,你就只需要根据我上面提供的css样本,将html改写成css并且放入css文件即可。
|
<html>
|
|
|
<title>栖枝perch - 一个用心创造设计改变生活的设计师的个人博客网站</title>
|
|
|
<body>
|
|
|
<p>请把鼠标移动到左边的单词上,可以看到鼠标指针发生变化:</p>
|
|
|
<span style="cursor:auto">
|
|
|
Auto</span><br />
|
|
|
<span style="cursor:crosshair">
|
|
|
Crosshair</span><br />
|
|
|
<span style="cursor:default">
|
|
|
Default</span><br />
|
|
|
<span style="cursor:pointer">
|
|
|
Pointer</span><br />
|
|
|
<span style="cursor:move">
|
|
|
Move</span><br />
|
|
|
<span style="cursor:e-resize">
|
|
|
e-resize</span><br />
|
|
|
<span style="cursor:ne-resize">
|
|
|
ne-resize</span><br />
|
|
|
<span style="cursor:nw-resize">
|
|
|
nw-resize</span><br />
|
|
|
<span style="cursor:n-resize">
|
|
|
n-resize</span><br />
|
|
|
<span style="cursor:se-resize">
|
|
|
se-resize</span><br />
|
|
|
<span style="cursor:sw-resize">
|
|
|
sw-resize</span><br />
|
|
|
<span style="cursor:s-resize">
|
|
|
s-resize</span><br />
|
|
|
<span style="cursor:w-resize">
|
|
|
w-resize</span><br />
|
|
|
<span style="cursor:text">
|
|
|
text</span><br />
|
|
|
<span style="cursor:wait">
|
|
|
wait</span><br />
|
|
|
<span style="cursor:help">
|
|
|
help</span>
|
|
|
</body>
|
|
|
</html>
|
请把鼠标移动到单词上,可以看到鼠标指针发生变化:
Auto
Crosshair
Default
Pointer
Move
e-resize
ne-resize
nw-resize
n-resize
se-resize
sw-resize
s-resize
w-resize
text
wait
help
第六步:我准备的一些鼠标样式下载
不喜欢也可以自己百度找一找
https://pan.baidu.com/share/init?surl=bpYJy3P 密码:ucfj


